- Home
- Incubators
- Incubator setup
How to set up your Brinsea egg incubator for a successful hatch.
Setting up your incubator properly is fundamental to make sure you hatch healthy chicks. Here's how to do it, step by step.
Although the instructions on this page relate to Brinsea's small Mini Advance incubator, the digital setup on all their incubators is the same. The only variation is humidity levels.
This article covers general points about how to keep fertile eggs in the best possible condition for hatch, before looking specifically at the control panel on the Brinsea.
Not sure which incubator will be best for your situation? This article uses simple charts to compare the features of 9 different Brinsea incubators.
Step 1: Store your eggs properly before you set them.
This is particularly important if you have eggs delivered by post or if they've been jolted on a journey. They need time to settle before you begin incubation.
Allow at least 12 and preferably 24 hours for them to 'rest' before they go into the incubator, and make sure they're stored in such a way as to maximise the likelihood of a successful hatch.
This page about storing fertile eggs gives you all the detail you'll need.
Step 2: Cleanliness is critical to any incubator setup.
Once eggs begin incubation they start to become more porous. Added to that, the warm, moist air inside an incubator makes an ideal breeding ground for bacteria.
Bacteria can kill an embryo. So it's really very important to make sure your incubator is spotlessly clean - even if it's new.
If you've used it before, there will be residual dirt post-hatch, including fluff around the fan. First, wash all the static parts (obviously not the electrical circuits!) with dish washing soap and warm water. Finish the rest with a clean, dry cloth.
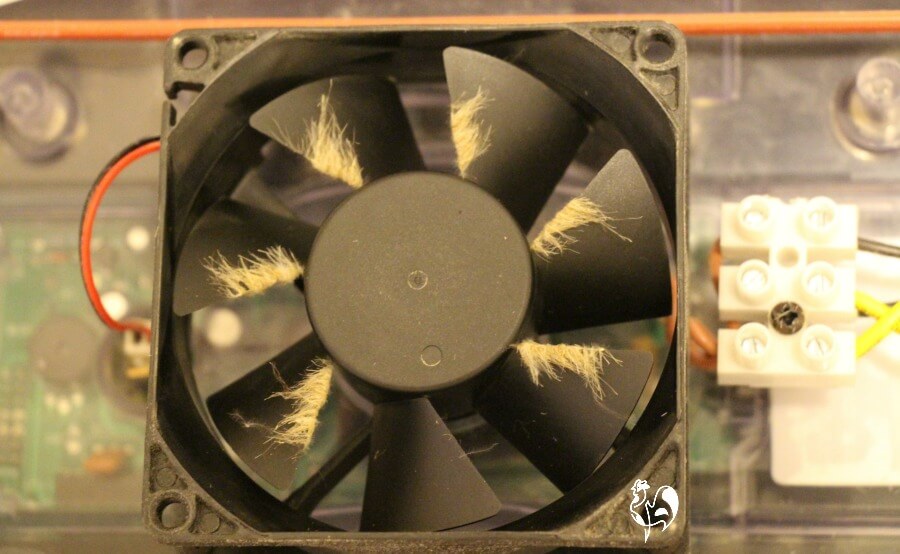 The fan of my Octagon 20 incubator, post hatch - note the fluff and dust.
Hopefully you will have done this immediately after you hatched your last set of eggs. Even so, do it again.
Next, sanitise it and allow it to air dry. If you have nothing else available, use a very weak solution of bleach - about one teaspoon to one litre (one quart) of water.
Personally, I prefer to use a simple solution of the kind of sterilising liquid (this is an affiliate link) you might use for a baby's bottle.
Spray with a mister, and allow to air dry.
Step 3: Setting the incubator up - location.
- Make sure it's set in a quiet area where it won't be in danger of being disturbed by enthusiastic children or pets. A table in a spare bedroom is ideal.
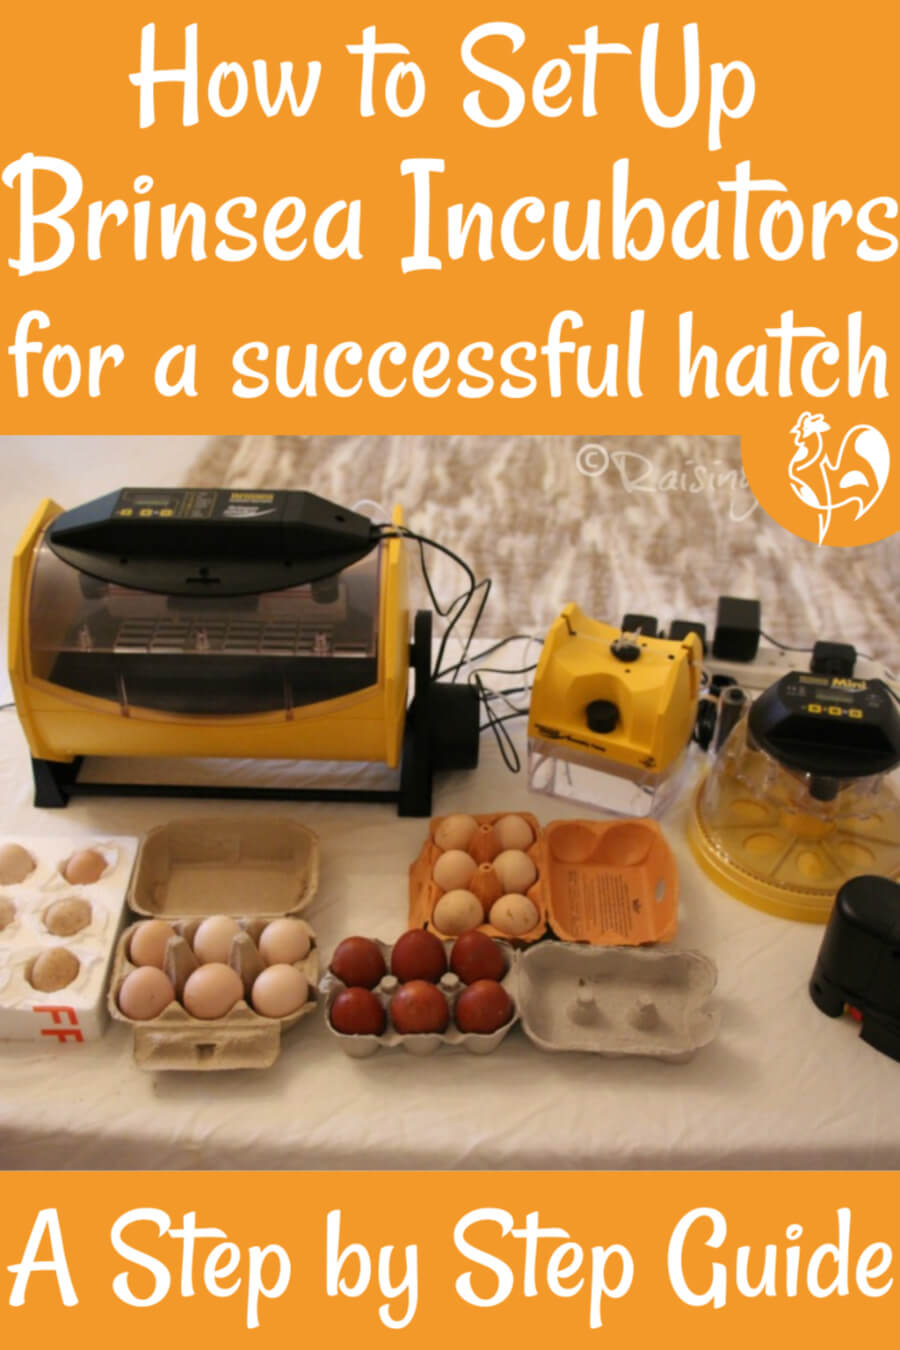
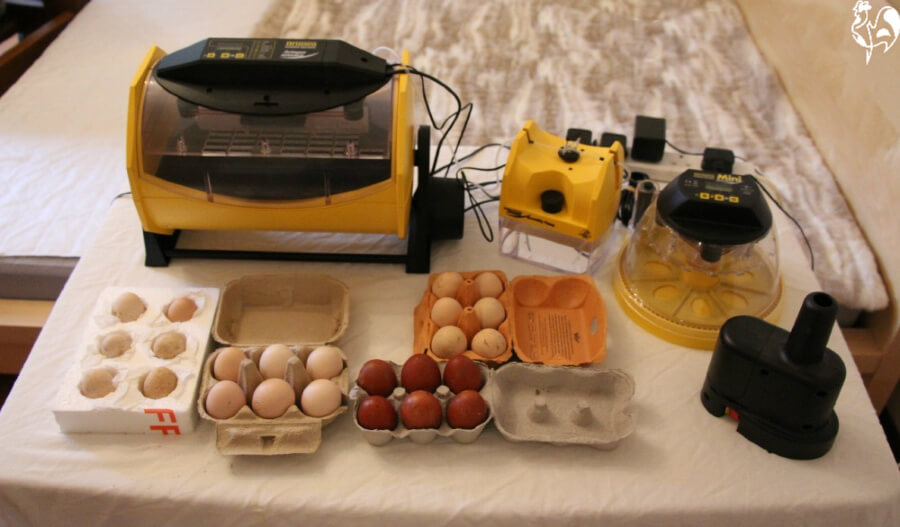 My incubator setup, with the Octagon 20, humidity pump, Mini Advance, and candler / Ovascope.
- The temperature in the room should be as stable as possible. Don't put the incubator near a window with sun streaming in - it will affect its temperature levels.
- Keep the room at a comfortable temperature. Be aware of humidity levels, too - if there's high humidity in the room it will affect the humidity in the incubator. Humidity tends to be higher in summer than in winter, but this will very much depend on where you live.
- If your room feels like a sauna, you'll need less water in the incubator than if you're in a very hot, dry "desert" type climate. Brinsea's humidity pumps, available with all their "EX" models, will control this for you.
Step 4: Turn on your egg incubator before you put the eggs in.
This is important for every incubator, whether it's a still or "forced" air machine. Otherwise, there's likely to be cold spots in the incubator which will mean the eggs will develop erratically - particularly in still air machines such as most of the home made incubator setups.
Make sure you turn on the incubator several hours before you want to set your eggs.
This allows the air inside the incubator a chance to reach the correct levels of warmth and humidity before the eggs are placed inside.
It's particularly important if you're incubating during the colder, winter months when the cooler temperature in the room will mean it takes the incubator longer to reach the right temperature.
Speaking of which...
Step 5: Set up the correct temperature and humidity levels.
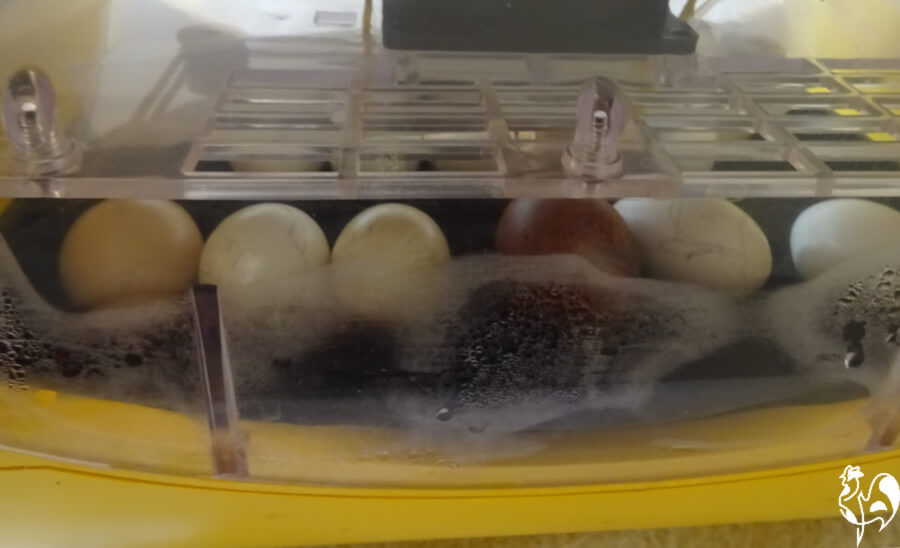 Humidity levels in my Octagon 20 incubator rise as the eggs start to hatch.
- The correct temperature for any size of chicken eggs in a forced air incubator is 37.5ºC (between 99º and 99.5ºF).
- The correct humidity level between days 1 and 18 is 45%. At day 18 it should be raised to 65% in preparation for hatching.
- Levels in still air incubators are different - see this page of frequently asked incubating questions for details.
Step 6: Setting up the egg incubator digital display.
Brinsea incubators have a digital display which will tell you what the temperature in the incubator is and how many days remain to hatch. The more advanced models also read and adjust the humidity levels.
Reading the instructions for setup can make it sound complicated, but it's actually very straightforward. This short video shows you how I do it.
Why not settle down with a nice cup of something and watch how it's done!
Step 7: Set your eggs!
Again, cleanliness is ultra-important. Make sure, before you handle your eggs, that you have washed your hands thoroughly.
Once you're sure the temperature inside the incubator has stabilised, it's time to set the eggs.
If you're incubating different breeds, mark them with a pencil either by number or by name. Take each egg and carefully place it in the incubator.
If your incubator lies the eggs flat, place the rounded end facing the outside of the incubator. If it stands the eggs, make sure the pointed end is facing downwards (towards the floor). This positioning is critical to a successful hatch.
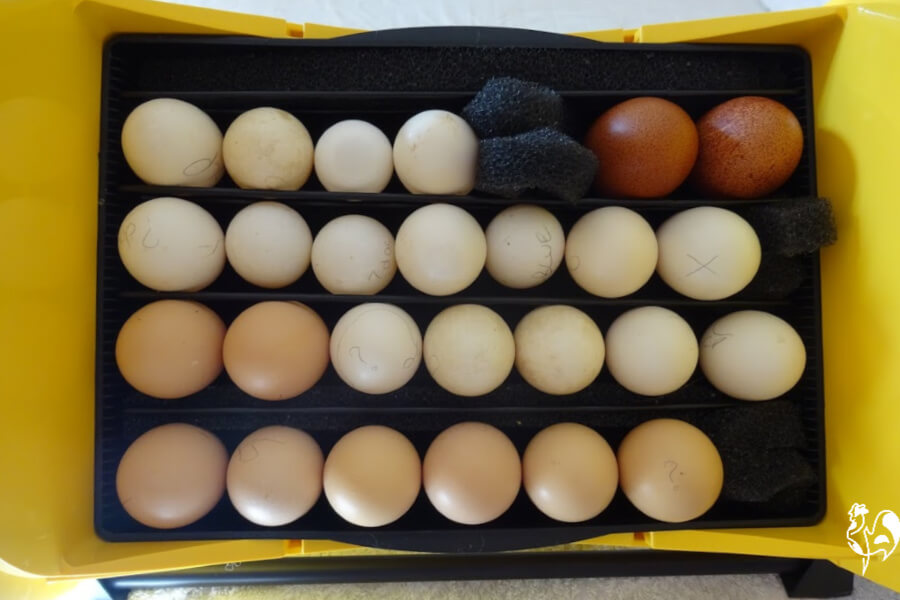 My Octagon 20 incubator - note all the eggs are set pointed end down.
Now close the lid - and wait. Your eggs are 21 days away from becoming chicks.
Where would you like to go next? These articles are all incubating and hatching related.
- Home
- Incubators
- Incubator setup
