- Home
- Before you incubate
- Storing eggs
Storing fertile chicken eggs: 5 steps to a successful hatch.
So you've got your hatching eggs but can't put them into the incubator yet?
Perhaps the incubator's not quite warm enough. Or maybe your eggs have been sent by post and need to rest and settle before they're incubated.
Whatever the reason, storing fertile eggs properly is essential to ensure optimal fertility levels, which in turn will help your hatch be successful.
How? Easy! Let's make like a hen!
In the wild, a hen will lay several eggs before she starts sitting on them – sometimes as many as twelve. To her, incubating one at a time makes no sense.
So, as hens can only physically lay once each day, her clutch can be several days old before she begins to incubate.
What can we learn from a broody hen?
As with everything in hatching, our aim is to reproduce as closely as we can the way a hen will instinctively behave until she's ready to hunker down and start incubating.
Here are 5 straightforward steps which you can quickly and easily replicate.
They're taken from learning about chickens in the wild, watching my own hens, my experience in successfully hatching several clutches after transporting eggs from the UK to my coop in Italy, and advice taken from reliable, properly researched sources (for sources, see below).
If you purchase a product through links on this page, I may receive a small commission at no extra cost to you. I only recommend products I have bought (or would buy) myself, and which I believe will genuinely benefit you. You can read my full disclosure policy here.
1. Keep your nest box clean!
One of the most critical issues for hatching chicken eggs successfully is to avoid contamination with bacteria. By choice, a hen will use a quiet, clean place to set her clutch.
If for any reason you need to store your fertile eggs for a few days before incubating, replicate that instinct.
Although you won't be able to see it, bacteria can lurk in storage containers. Unless you're careful with hygiene, you run the risk of contaminating your current clutch.
And that will potentially end with the incubated eggs exploding in the incubator, releasing bacteria over the other eggs.
How to avoid bacterial problems for stored fertile eggs.
- If you're storing your fertile eggs in standard cardboard cartons (choose recycled and biodegradable wherever possible), make sure they're new. Don't use them for more than one set. Mark them "Fertile eggs – not for eating" – just in case!
- If using plastic or resin containers, wash thoroughly before use. I use a baby-bottle sterilising liquid but a mild bleach solution is fine. Use one teaspoon of bleach to one litre (about one quart) of warm water.
- A container like this one is ideal. It's strong, reusable and easily washed. After incubation it can be used to store eggs for eating. How do I know? It's the one I use to transport and store my fertile eggs.
2. Store fertile eggs the right way up!
A hen will keep her eggs lying sideways, and that's the way smaller incubators like the Brinsea Mini Advance (my favourite incubator) also work.
But if you need to store them in an egg box or a container which holds the eggs upright, they should always be stored with the more pointed end facing downwards, even if it's only for a short time. This makes sure the yolk stays properly suspended.
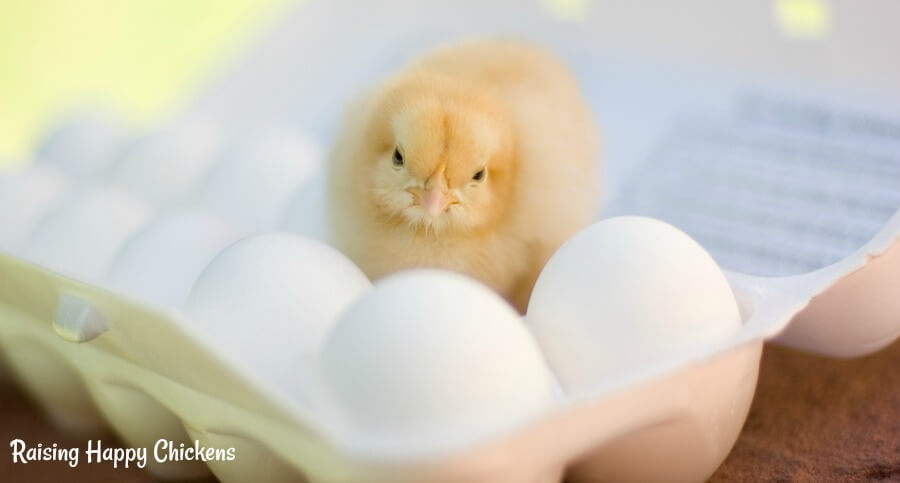
It's the way they should be set in the incubator, too.
If the more rounded end faces down for too long there's a danger that the air cell will become dislodged and the developing embryo will become less viable(1, 2).
Evidence is clear that storing fertile eggs the wrong way up, and certainly incubating them the wrong way up, will result in few, if any, hatching.
My preferred option is to remove them from the upright container trays and lie the eggs on their side, protected by either kitchen roll or tissue paper.
It's how I transport them by car or plane, too.
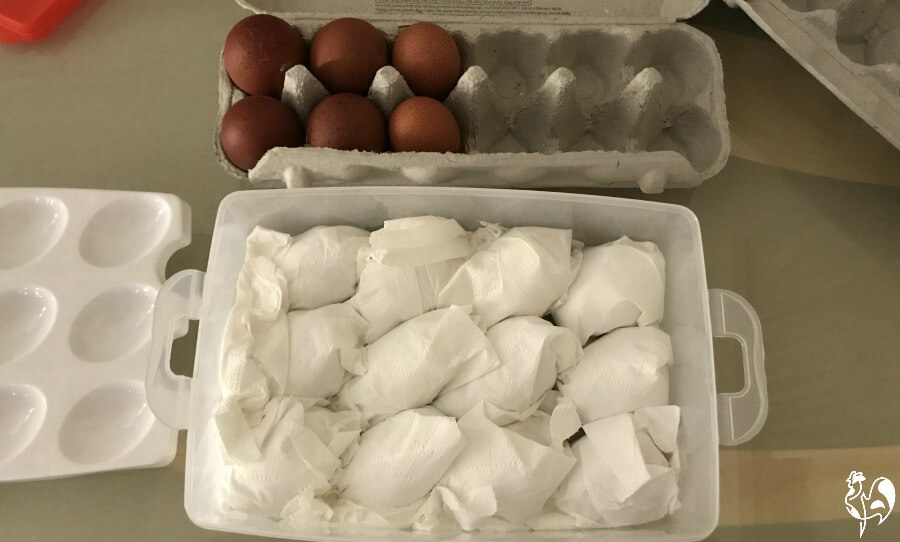 Some of my hatching eggs placed on their side to rest before going into the incubator.
3. Turn them at least twice each day.
If you watch a broody hen (a hen who is about to sit on her clutch, or is already incubating eggs) you'll notice that she turns them every so often both before and during incubation.
She knows instinctively that she has to prevent the embryo sticking to the membrane inside the shell.
Research has shown that the hen knows what she's doing. Turning the eggs has been demonstrated to lead to "reduced embryonic mortality"(3).
So we need to do the same.
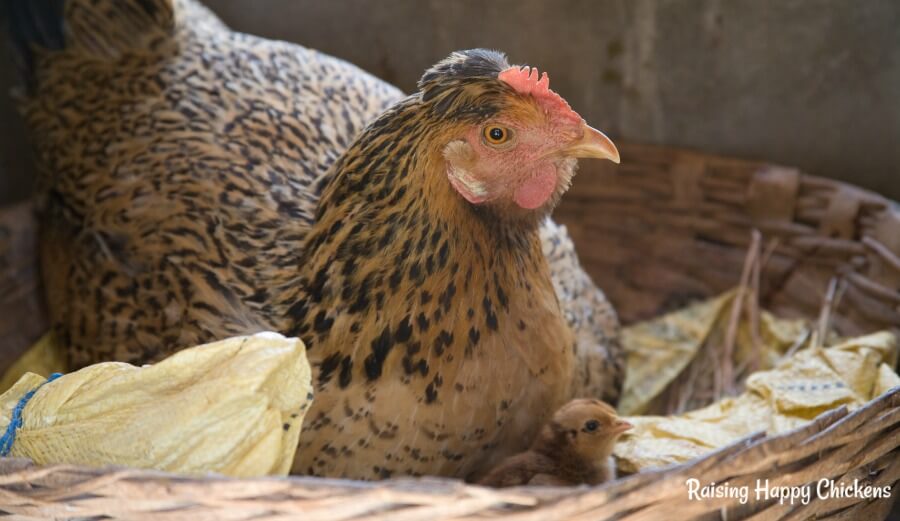 Proper storage means a successful hatch!
- If you're storing your fertile eggs upright in a container, you will need to twist each individual egg, making sure the pointed end remains downwards.
- If you're storing them on their side in a container, you can simply turn the container upside down. That way, the pointed end remains flat; the eggs are moved from one side to another. That's how I do it, and it works well.
- Make sure you mark the container so you know which side is which: a simple '1' and '2' will be fine. If you're likely to forget whether you've turned them or not, mark them something like 'morning up' and 'afternoon up'. That way, you know which side should be facing upwards at which point in the day.
- Remember: if your eggs are smaller than the container you'll need to use packing to make sure they don't break when you turn them. Food grade tissue paper is a good solution.
4. Keep them cool and dry.
A hen knows instinctively that an embryo won't start to develop until she sits on her clutch and they reach a specific temperature and humidity level. In the meantime she makes sure they're kept cool and dry.
So until we're ready to begin the incubation process, we need to keep our own clutch of fertile eggs cool and make sure they don't get wet.
This is really a question of balance. Wherever you store your eggs, their fertility will be best maintained if they're cool, but not too cold, and dry, but not too dry.
 Store somewhere cool – not frozen!
How to find the ideal setting?
Look for somewhere in your house that's not heated and not humid. A garage or a dry basement or cellar is ideal, particularly if it's got a concrete floor. The ideal temperature is between 5ºC and 10ºC (40ºF to 50ºF).
Whatever you do, don't store them in your refrigerator. It's too cold and the air is much too dry.
In dry air, eggs will lose moisture through the shell, particularly if they're small bantam eggs, or have particularly thin or porous shells.
5. Incubate your fertile eggs as soon as possible.
If your chicks-to-be have arrived by post, or if like me you've carried them long distances, they will need to settle and come to room temperature before you set them in the incubator.
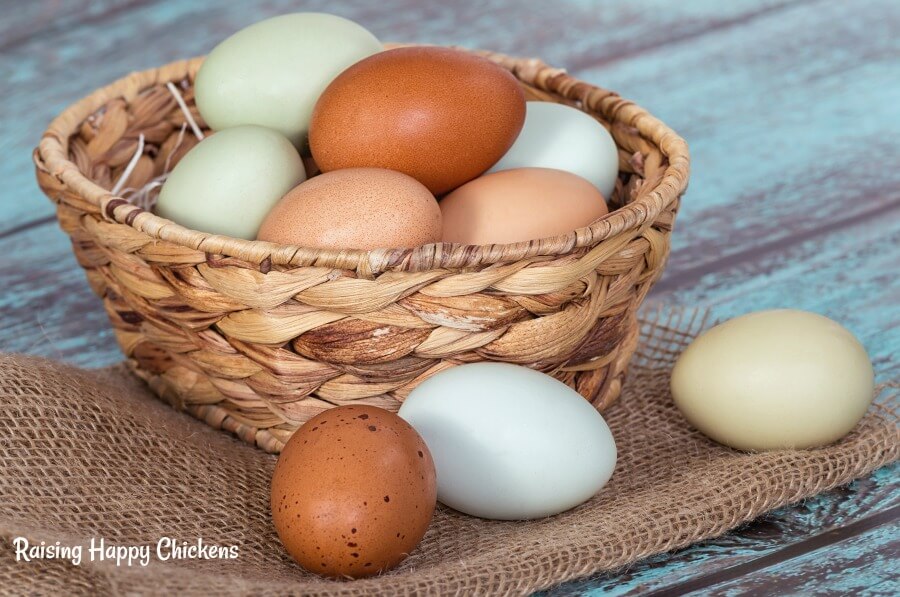 Using your own fertile eggs? Collect them daily.
Allow them to "rest" for at least twelve, preferably 24 hours after arrival. Wherever possible, begin incubation immediately after that.
Advice about how long eggs will remain fertile varies. In reality, the longer they're left, the less fertile they become.
If they're kept in ideal conditions, some authors – Gail Dammerow, for example(1) – considers it possible that they will remain viable for up to three weeks.
Other research(3) suggests that storing fertile eggs for up to eight days has no impact on hatchability, but twelve days or more worsened the likelihood of a successful hatch.
When I've been driving to Italy from the UK with hatching eggs, I've had to keep eggs for as long as two weeks before incubating.
I've kept them in as near-optimal conditions as possible in the meantime, and hatch rates have been about 75% – 80%. It's obviously much better to incubate before that, though.
Where to next?
You've chosen your eggs, transported them safely, and stored them correctly to make sure they remain as fertile as possible.
It's nearly time to incubate!
Before that, though, there are a couple more stages to go through: candling to choose the best quality eggs, choosing the right equipment and setting up your incubator.
The articles at this link will walk you through each of those steps.
Looking for more information about hatching and caring for chicks? Try these articles!
Sources.
A lot of "facts" you'll find on the internet are often people's individual views, based on inaccurate information repeated from poor quality sources.
The information I provide in this article and others is based not just on my own experience, but on evidenced facts from scientific, peer-reviewed research and books from highly respected and experienced poultry keepers such as Gail Damerow.
Some of the trusted sources I have used in this article are these.
1. Archer, G., and Cartwright, A: Incubating and Hatching Eggs. Pub. 2017.
2. Damerow, Gail: Hatching and brooding your own chicks. Pub. Storey, 2013.
3. Melo, E.F., et al: Effect of egg storage duration and egg turning during storage on egg quality and hatching of broiler hatching eggs. Pub. Science Direct, 2021.
- Home
- Before you incubate
- Storing eggs
