- Home
- Incubators
- Choosing an incy
Ten steps to choosing your perfect chicken egg incubator.
So you'd like to hatch chicks at home or at school and you're confused by the wide choice of egg incubators available?
That's understandable. Backyard chicken keeping has become a huge industry in the past few years and there are a lot of choices out there.
When you're hatching chicken eggs there's really only one "must have" item if you don't have a broody hen: a reliable incubator. But there are a lot of incubators on the market, each with unique features. So choices must be made.
I have four incubators, ranging from the very small to a larger, 24 egg machine.
In this article I'm going to share with you the lessons I learned when choosing my incubators to help you decide which would be the ideal chicken egg incubator for your individual situation.
Step 1: How large should your incubator be?
Incubators come in all shapes and sizes, from a few eggs to several thousand. It's unlikely you'll want to go down the 'several thousand' route, but you do need to think carefully about how many eggs you'd like to hatch.
Bear these three things in mind.
1. Whilst hatching is fun and exciting, it will leave you with chickens afterwards. Have you thought through what to do with them, and in particular with any roosters (cockerels) you might end up with?
If not, take my short quiz to make sure that hatching is definitely for you -- and this one too, to make sure that you can legally keep chickens.
2. Remember that not all the eggs you set in any incubator, no matter how good it is and no matter how careful you are, will hatch. Even in the most ideal circumstances only around 80% are likely to be successful. If your eggs have been sent by post, that will potentially drop to around 50%.
How would you and, probably more critically, your children deal with that disappointment?
3. Know that you will want to hatch more than you think when you first do it. Hatching chicken eggs is addictive!
If you're new to incubating, my advice would be to start with a small incubator and add to your collection later, if you enjoy the experience.
For a comparison of different sizes and features of incubators, see this article.
Step 2: Where will you keep your incubator?
It's all very fine getting a large incubator - but do you have somewhere you can keep it safely for the (sometimes more than) 21 days it takes to hatch without getting in the way of family life?
Something like Brinsea's Octagon 20 (with turning cradle) is 17" (43 cm) wide whereas the little Eco or Mini Advance measures a mere 8" (22cm). My most recent incubator, the Maxi II, is in the middle, measuring 12.5" (32 cm).
Then there's candlers, humidity pumps, cameras ...
I use a guest bedroom and a large plastic garden table. What space do you have available, and what size of incubator would be best for that space?
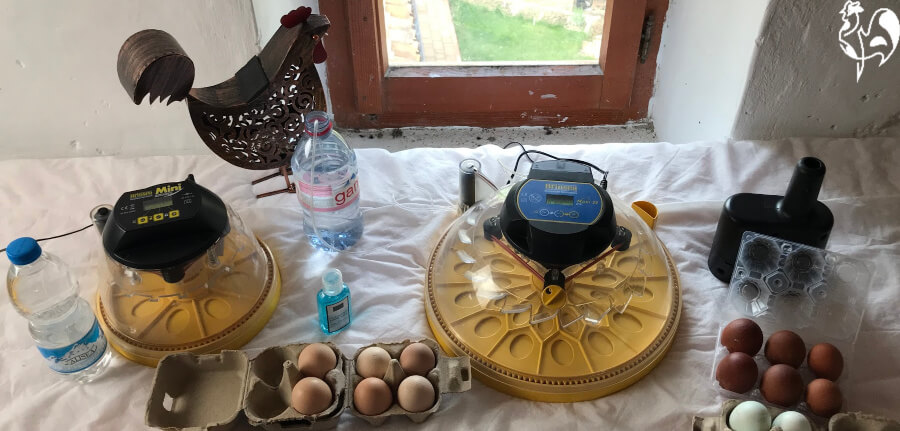
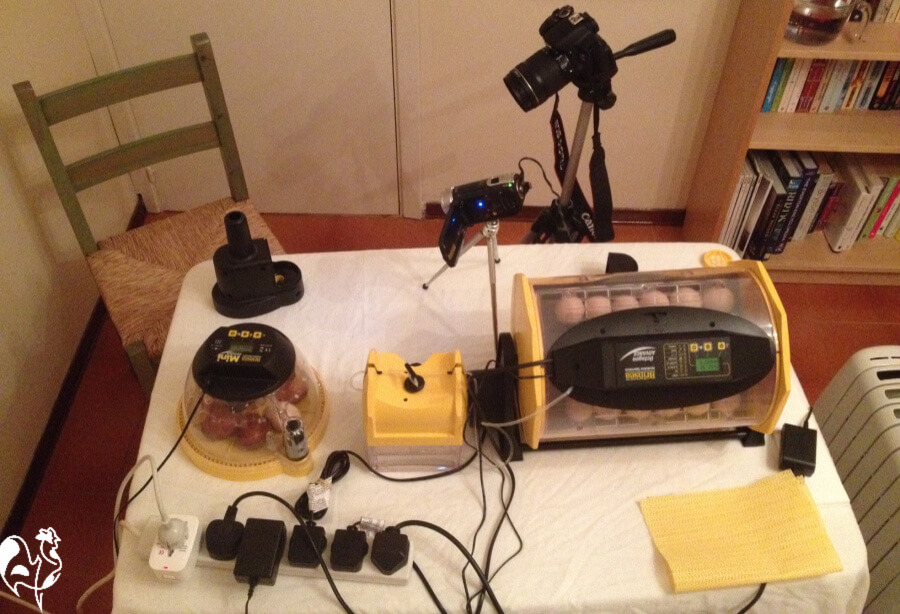 My "incubating station". OK I admit it - I have a few gadgets!!
Step 3: How much can you see?
This is particularly important if you have kids who want to watch the chicks hatching. In fact, it's important for anyone who wants to watch the chicks hatching!
It's critical not to raise the lid of the incubator in the last days of incubation and during the hatch, so it's important to be able to see clearly without disturbing.
Some incubators have a small window in the front so you can see part of the egg. Some have a plastic lid, but it may be restricted by the incubator's fan and other workings.
Again, if you're just starting out, the best incubator for viewing in my experience is the little 7- egg Brinsea Eco or Mini Advance. It has a massively high, clear plastic dome which makes visibility very clear.
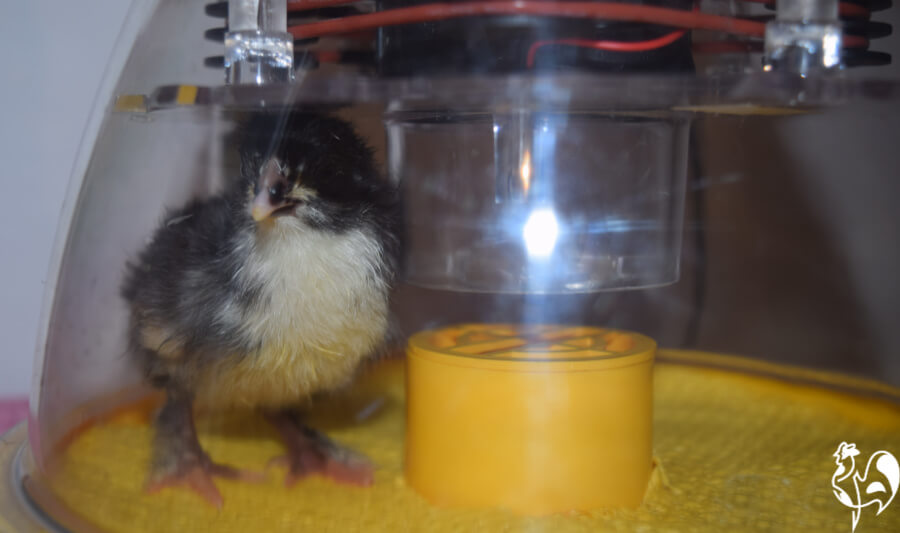 My Brinsea Mini Advance - its high dome gives great visibility.
Step 4: How easy is the incubator to clean?
Another practical point, but an important one.
It's critical that your incubator should be kept clean. Bacteria have a nasty habit of entering through porous egg shells and that can result in the death of the chick embryos.
And trust me, the mess left behind after hatching is substantial. Dust, empty shells, the first poops of the newly hatched chicks, the down they shed while drying out ...
Make sure that whichever incubator you decide on, it can at least in part be dismantled to allow for post-hatch deep cleaning of the non-electrical parts, and a dry wipe-down of the electrical bits.
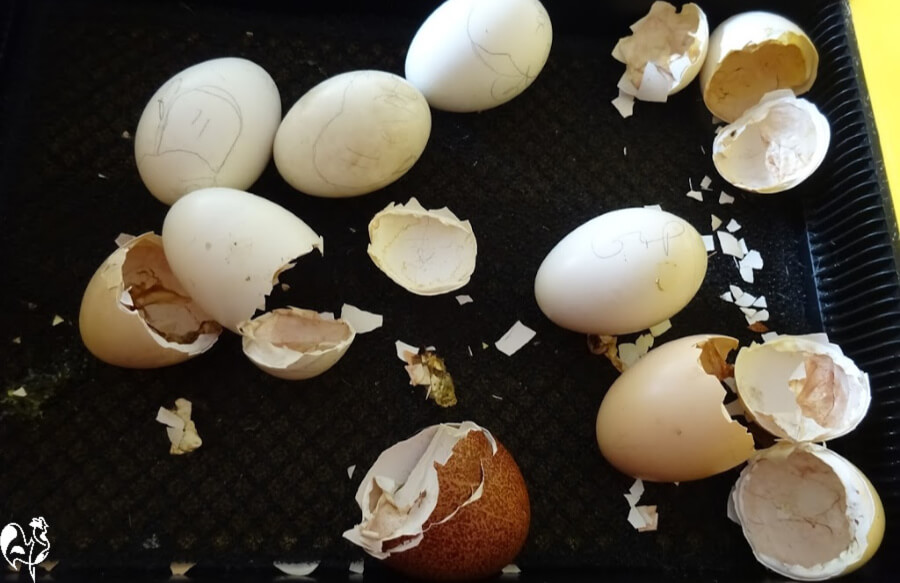 Inside my Brinsea Octagon 20 partway through a hatch - dirty, dusty and the fan (out of sight) is covered in down.
Step 5: How do you want to measure temperature and humidity in the incubator?
There are two critical issues during incubation: temperature and humidity. They need to be constant and any variation, particularly high temperature and low humidity, can potentially cause the embryos to perish.
So - how do you want to measure them? Do you want to use a separate thermometer and hygrometer which you keep an eye on yourself? Or do you want it to be done digitally so you set it and forget it?
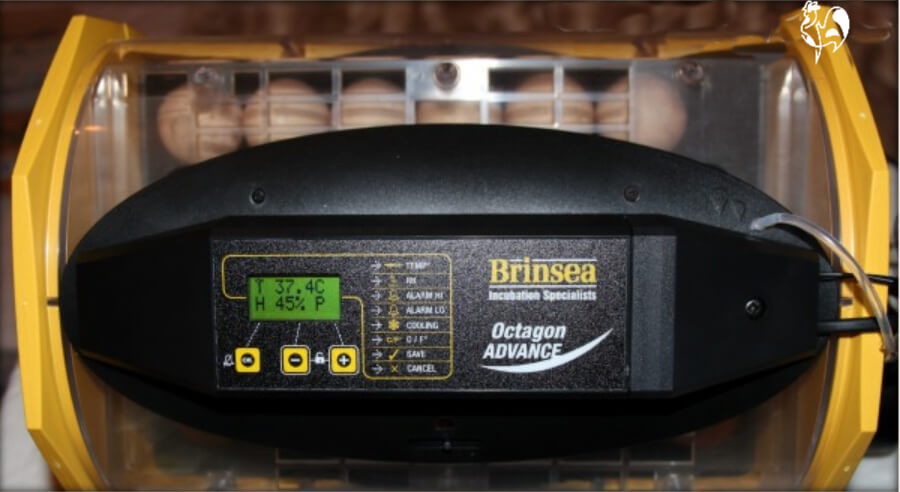 My Octagon Advance digital readout warns me when temperature and humidity levels are too high or low.
My advice: if you can afford it, get an incubator that does this for you. Making sure temperature and humidity levels are right is so critical to a successful hatch that buying an incubator without automated measurement can be more expensive in the long term - and is certainly more stressful.
Step 6: How do you want to control humidity?
Humidity levels need to be kept at 45% during incubation but before hatching should be raised to around 65% or higher, depending on how high or low humidity is in the room.
If this doesn't happen the membrane through which the chick has to 'pip' dries out, goes hard and before you know it, the chicken's in serious trouble because it can't hatch.
Can you risk that? Would you know what to do?
Do you want your incubator to have a manual humidity control, where you add water by hand to a sponge, pot or channel inside it?
Or would you prefer an automatic, digitally-controlled, state of the art humidity pump which takes the stress of humidity away, adds water to the incubator when it's needed and gives you a read-out so you can check levels are as they should be?
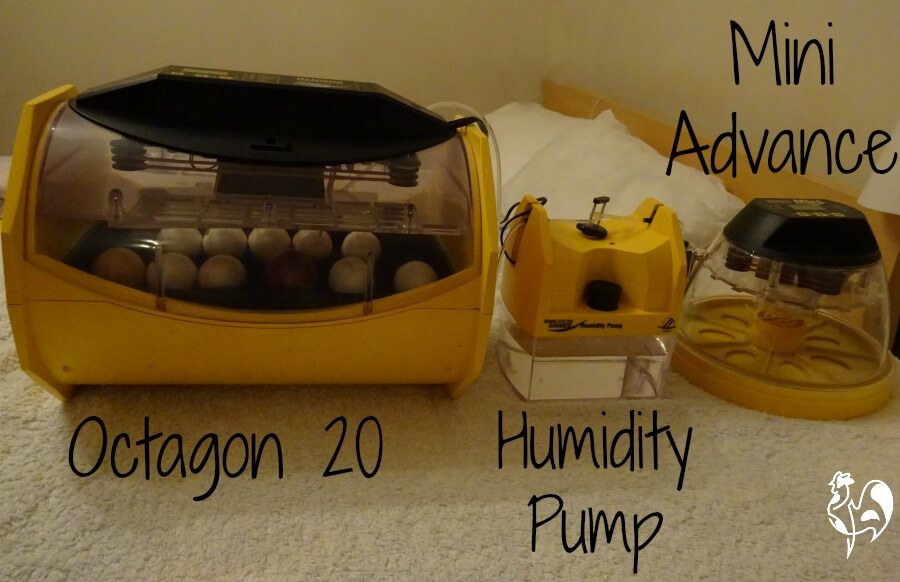 My Brinsea humidity pump - taking the stress out of calculating humidity levels!
Again, my advice would be if you can afford an external humidity pump like this one on the Octagon 20, go for it. It removes all the stress.
Step 7: What about turning the eggs?
If you ever have the chance to watch a hen sitting on eggs, you'll notice that from time to time she rolls them. Instinctively, she knows that moving them around stops the embryo sticking to the shell which can cause the hatch to fail.
Chicken eggs in an incubator need to be turned in the same way, consistently, through the first eighteen days of incubation. Ideally, it needs to be done 24 hours a day. And it can't stop just because it's a weekend!
Are you happy to get up in the middle of the night and turn? Will you remember?
Can you work out a system so you know which have been turned and which still need doing? Are you organised enough to keep records of when they were last turned?
Will you remember that you need to stop turning three days before hatching is due?
Or do you want an incubator that does it all for you?
 My Mini Advance and Maxi Advance II both have automatic turning, as does my Octagon 20.
I often hear from teachers who aren't at school at weekends and leave the eggs without turning - and are then upset when none hatch. If that's you then please, buy an incubator with automatic turning!
Step 8: Counting down the days.
It's important that chicken eggs in an incubator are not turned after day 18 - three days before hatch is due. The chick needs to be able to get into the right position for hatching so that it 'pips' - breaks through - into the air cell at the fat end of the egg.
Pipping into another part will mean it has no way to breathe.
So remembering the timing is important. How are you with numbers? Will you remember which day your eggs are due and when they should be stopped? I once tried to do this and got hopelessly muddled - but then I'm useless with figures.
The alternative is for this to be done automatically by the incubator.
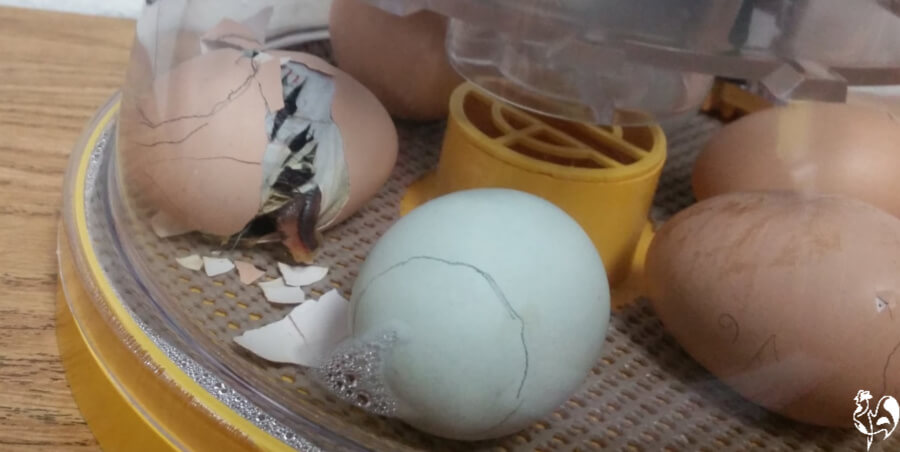 A chick hatching at day 22 - could you remember when hatch day is?
There are ways to remember when key days are. If you're an organised person, you'll be able to do it with a worksheet or a reminder on your phone. If not, and you'd rather be reminded, look for an incubator which counts the days for you.
Step 9: Manual, automatic or in-between?
The decision about how automated you want your chicken egg incubator to be will depend entirely on your answers to the questions above.
The choices in front of you vary at one extreme from a basic, home made incubator to, at the other, a large cabinet machine which will hold anything up to 580 eggs and is completely automated.
And the cost will vary from a few dollars to upwards of $2,000 (£1,500). Which brings us to the final question.
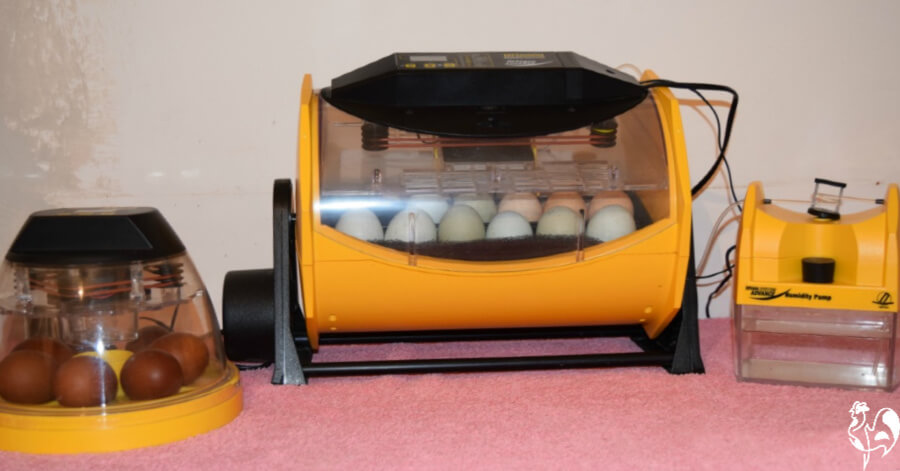 My automated incubators save me stress!
Step 10: Cost.
This is one which affects us all. There are incubators out there costing thousands of dollars and there are others costing less than a hundred.
What's your budget? Is it going to affect your answers to the previous questions? Could you see yourself starting small and working your way to larger, more automated and more expensive?
Basically, the larger and more automated your incubator, the more expensive it's going to be.
My advice: whichever price point you can afford, choose a recognised brand. Do your due diligence. Make sure you know what you're buying.
Please, please be very careful about buying very inexpensive incubators from China. They have a nasty habit of stopping working (and even catching on fire) part way through incubation. Better to save up until you can afford a reliable one.
So, what are the final options?
In the links below you'll find chicken egg incubators at different costs, with different levels of automation.
- Homemade incubators are the cheapest option but also have the lowest hatch success rate.
- A small, 7 egg incubator like the Brinsea Mini Advance varies from a manual machine to completely automated. It's easy to use, can be relatively inexpensive (for the manual version) and is a good choice if you only want to hatch a few eggs.
- A larger incubator like the Octagon 20 will do virtually everything for you and can hold up to 24 large breed chicken eggs. It's a good choice if you're more experienced and know you want to hatch a larger number of chicks each year.
Think about your answers to the above questions first. Then click the buttons below to see details of the different options.
If this article was helpful, you may also like these.
- Home
- Incubators
- Choosing an incy
