Fermenting chicken feed in four easy steps.
You've heard that fermenting chicken feed can be good for your flock, but the practical question is: how do you actually do it?
The good news is that fermentation is far simpler than it sounds.
You don't need special equipment, fancy ingredients, or any kind of scientific knowledge.
With just feed, water, and a suitable container, you can create a nutritious, probiotic-rich meal for your chickens in a matter of days.
In this article I'll walk you through the process step by step, so you can ferment chicken feed confidently, safely, and without fuss.
If you’d like to understand more about why fermentation is helpful before you begin, take a look at my companion article on the benefits of fermenting chicken feed.
But if you’re ready to get started, read on!
🪶 Featherlight Takeaways.
Quick insights from this article: especially helpful if you just want the basics to get started!
- Fermenting chicken feed simply means soaking feed in water for 2–3 days, so natural probiotics can develop.
- You don't need special tools: a glass or stoneware container, clean water, and a loose lid are all that’s required.
- Keep the feed fully submerged and stir daily to prevent mould or spoilage.
- Properly fermented feed should smell fresh and slightly sour, never rotten or alcoholic.
- Using leftover liquid makes each new batch quicker and easier.
Want to know more about the benefits before you start to ferment? Click the button below!
Sprouting or fermenting: which is better?
Sprouting seeds is another healthy way to boost your chickens' diet. It's simple, inexpensive, and almost impossible to get wrong. Even overgrown sprouts can be fed as fresh green fodder.
- If you'd like to learn more about sprouting specifically, take a look at my full step-by-step guide to sprouts for chickens.
So why choose fermenting instead?
- Chickens usually prefer the taste and texture of fermented feed.
- Fermentation creates probiotics, which sprouting does not.
- It improves digestion and gut health, not just nutrient content.
- Fermenting everyday feed is often quicker and easier than growing sprouts.
Both methods are excellent.
But if your main aim is improving gut health and making regular feed more nutritious, fermenting is usually the better option.
Step 1: Choose your foods.
You don't need special ingredients: fermentation works perfectly well with ordinary chicken feed.
Think of it this way: your normal feed is the foundation, and any extras you add are just optional bonuses.
The main ingredient:
Start with your usual feed:
- pellets
- crumble
- or a mixed grain feed.
All of these will ferment. However, pellets and crumble tend to break down into a thick, porridge-like mash, which can be harder to strain. For best results, try to include at least some whole grains in the mix.
A good rule of thumb:
Aim for no more than about 30% pellets or crumble, and the rest whole grains or seeds. Otherwise the mix will become too
A note for chicks:
If you're fermenting feed for young chicks, always use chick starter feed, not layer feed. Chicks have different nutritional needs to adult hens.
Optional extras.
You don't need to include everything below, just use whatever you have to hand.
🐥 A note from my flock: there's always a rush in my flock to get to my fermented feed. The chickens don't know it's good for them, they just love the taste!
Here I've used chicken feed, wild bird food, some mealworms and a few spare prawns.
Grains and seeds.
These all ferment very well and add extra nutrition.
Either just one, or a combination of a few of these, can be added as they are into the mix. Grow them yourself, or use a good quality, unprocessed brand.
- Wheat, barley, buckwheat, or organic oats.
- Sunflower or pumpkin seeds (unsalted and preferably organic).
- Wild bird seed mixes.
- Lentils, mung beans, chia, or flax seeds.
Vegetables and fruit.
- Frozen or tinned sweetcorn and peas. Allow frozen veg to come to room temperature before adding.
- Grated carrots or other chopped vegetables.
- Chopped apples or pears (without the pips), grapes, melon and any other fruits which are in season.
Avoid citrus fruits, which can make the mix too acidic.
Herbs and plants.
- Small amounts of fresh herbs like mint, basil, or bay leaves are fine.
- A clove or two of garlic can be added as a natural immune booster. And no, it won't make your eggs taste of garlic!
- Edible weeds such as dandelions, nettles, clover, and chicory all add nutrients while costing little or nothing.
- Remember too, edible plants. Adding some marigold or nasturtium petals is a good way of adding nutrients without fat.
What to avoid.
- Highly processed foods like white rice, which have very low nutritional value.
- Salty or seasoned leftovers.
- Anything spoiled or mouldy.
Water matters.
Use clean, chlorine-free water at room temperature if possible. Chlorinated tap water can slow down or prevent fermentation.
- Filtered or spring water is ideal.
- If you only have tap water, let it stand in an open container for 24–48 hours before using it.
- Always use water at room temperature, never hot or chilled.
Do you need a starter culture?
No. Fermentation will happen naturally using bacteria already present in the air.
If you want to speed things up, you can:
- add a little liquid from a previous batch (known as "backslopping"), or
- use a spoonful of juice from a jar of fermented foods like sauerkraut.
But neither is essential.
Step 2: Choose your container.
If you purchase a product through links on this page, I may receive a small commission at no extra cost to you. I only recommend products I have bought (or would buy) myself, and which I believe will genuinely benefit you. You can read my full disclosure policy here.
You don't need anything fancy to ferment chicken feed, but the container you use does matter. With the right one, the rest of the process becomes simple.
Best options.
These materials are stable and won't react with the acids produced during fermentation:
- Glass jars (Kilner or Mason jars work perfectly. These are what I use).
- Food-grade stoneware crock pots like this one.
- Ceramic containers with a loose-fitting lid.
- A loose-fitting lid. If your chosen container doesn't have one, a piece of muslin or a light cloth is fine. Some people use a panty-hose stretched across the top.
What to avoid.
Try not to use:
- Plastic containers. Over time they can scratch, harbour bacteria, and may leach chemicals.
- Metal or stainless steel. Acids from fermentation can react with the surface.
If plastic is your only option, use food-grade plastic and keep batches small and short. But glass or stoneware is always better.
Lids and covers.
Your container needs to be covered, but not sealed.
Fermentation produces gases, so the lid must be loose-fitting. If it's screwed down tightly, pressure can build up and you may end up with a messy explosion!
The goal is simply to keep dust and insects out while still allowing air to escape.
Good options include:
- a jar lid placed loosely on top
- a piece of muslin or clean cloth
- even a square of kitchen paper held with a rubber band.
Size matters!
Choose a container that matches the size of your flock.
- For a few chickens, a large glass Mason-type jar is enough.
- For bigger flocks, you may want a small crock or several jars working in rotation.
It's better to make small, regular batches than one huge batch that's left sitting around for too long.
Step 3: Start fermenting your chicken feed!
This is where the magic happens. Don't worry: the process is simple and very forgiving, as long as you follow a few basic rules.
Day 1.
- Put your chosen feed mixture into the container. Fill it no more than two-thirds full, to allow room for expansion.
- Add enough clean, chlorine-free water to cover the feed by at least 5 cm (2").
- Stir well to make sure everything is thoroughly soaked.
- Place a loose lid or cloth over the top. Never seal it tightly.
- At this stage the grain will start absorbing water very quickly. So for the first day, check the container every few hours and add more water if needed.
- Keep the container in a cool, shaded place and out of direct sunlight.
- Important:
The feed must stay completely submerged at all times. If it's exposed to air, mould can develop and the batch will need to be thrown away.
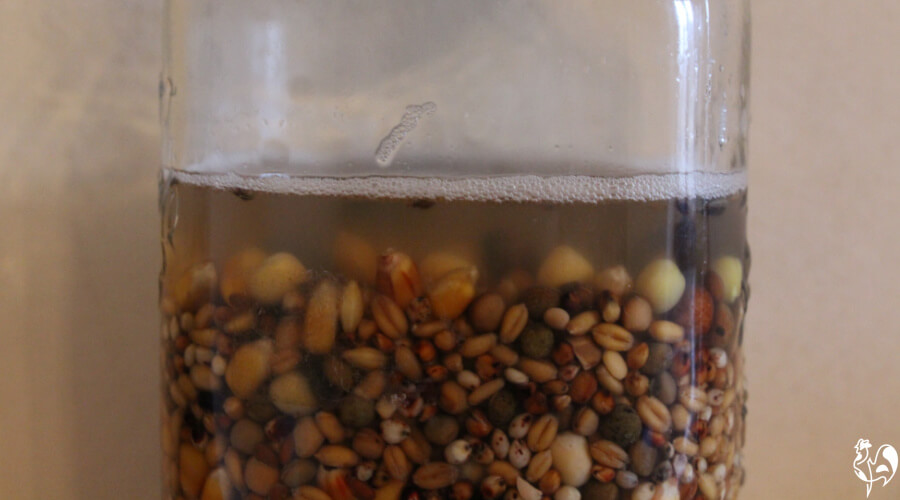 I use a small Kilner jar if I only want to ferment a small amount of feed.
Day 2.
By the second day you should start to see small bubbles forming. That's a good sign: it means fermentation has begun.
- Stir the mixture at least two or three times during the day.
- Check the water level is still above the feed.
- Add more water if necessary.
The smell at this point should be pleasantly sour, a little like yoghurt or fresh bread dough.
If it smells strongly of alcohol or just plain "bad", something has gone wrong. In that case, don't risk it. Throw the batch away and start again.
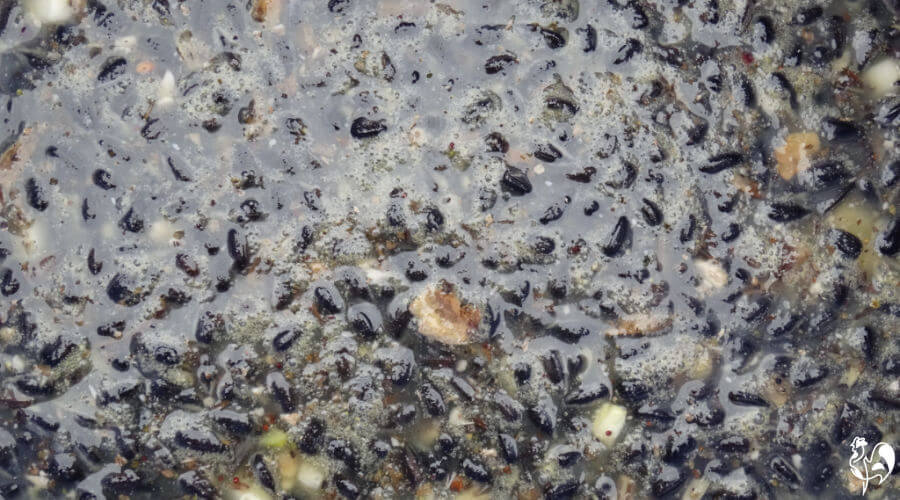 See the bubbles forming on this batch, which included a lot of seasonal sunflower seeds.
Day 3: Your chicken feed fermenting should be finished today!
In most climates, fermentation will be finished by the third day. In colder weather it may take a little longer.
If you used pellets or mash, the feed will now have a soft, porridge-like texture. Whole grains will be plump and slightly softened.
Once it smells fresh and tangy and is bubbling gently, your fermented feed is ready to use.
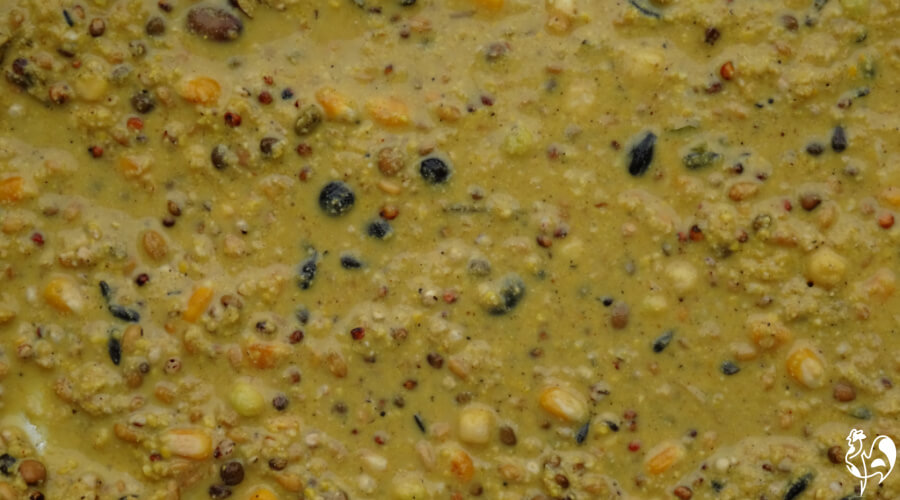 Fermented food - this used a high percentage of mash, so looks like porridge!
The essential rules to remember.
- Never let the feed dry out.
- Always keep it covered, but not airtight.
- Stir daily.
- Trust your nose. Fresh and sour is good; rotten or alcoholic is not.
Follow those guidelines and it's very hard to go wrong.
Step 4: drain, feed, repeat!
Once your feed has finished fermenting, it's time to put it to good use.
Straining the liquid.
- Place a strainer over a bowl and drain the liquid from the fermented feed.
- Don’t throw that liquid away!
- It's full of beneficial bacteria and can be used to start your next batch (more on that in a moment).
When not to feed it.
Before letting your chickens loose on it, give the feed a quick check.
Do not feed it if:
- it smells rotten or strongly alcoholic
- you can see any mould
- it has been left sitting too long.
If in doubt, throw it out and start again. It's not worth the risk.
How much to feed?
Fermented feed is rich and filling, so you don't need large amounts.
A good starting point is:
- Offer about half a cup of fermented feed per chicken.
- See what your flock can eat in 15 - 30 minutes.
- Remove any leftovers after that time, especially in warm weather, to avoid attracting flies or rodents.
You'll soon learn the right quantity for your own chickens.
Try some backslopping!
"Backslopping" simply means using the leftover liquid from one batch to start the next.
Because that liquid already contains active, healthy bacteria, it jump-starts the fermentation process and makes the next batch quicker and easier.
To backslop:
- Keep the strained liquid in a clean container.
- Add fresh feed and top up with more water.
- Stir, and you're off again!
Keep rotation going.
If you have more than a few chickens and you want to make fermented feed part of their weekly diet, it can help to use two or three containers in rotation.
Start a new batch every couple of days, and you'll always have fermented feed ready to serve.
And finally...
That really is all there is to it.
Fermenting chicken feed sounds technical, but in reality it's one of the simplest, most natural ways to boost your flock's diet. With nothing more than feed, water, and a container, you can create a nutritious, probiotic-rich meal your chickens will genuinely enjoy.
Once you get into the rhythm of it, fermentation quickly becomes part of your regular routine. It’s inexpensive and reduces feed waste, saving even more money, it's easy to do at home, and it's completely free from artificial additives.
So if you've been curious about trying it, don't be put off by the idea that it's complicated. Give it a go. Your flock will thank you for it!
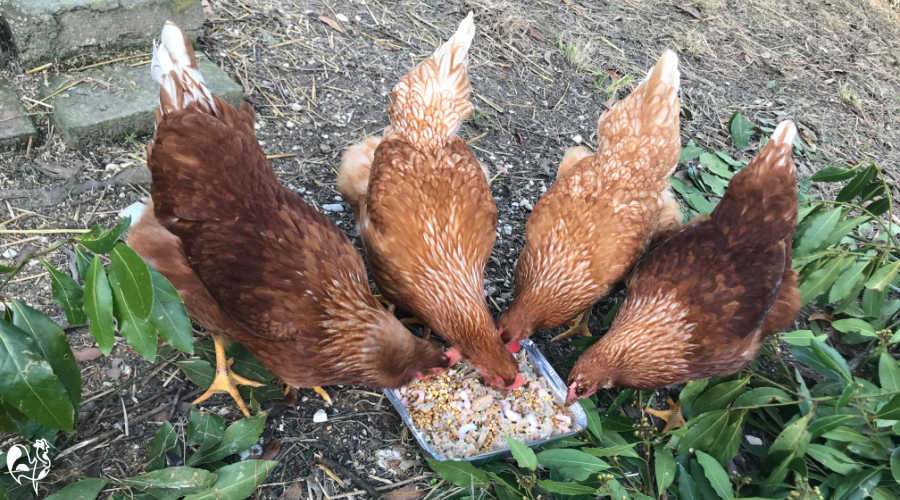
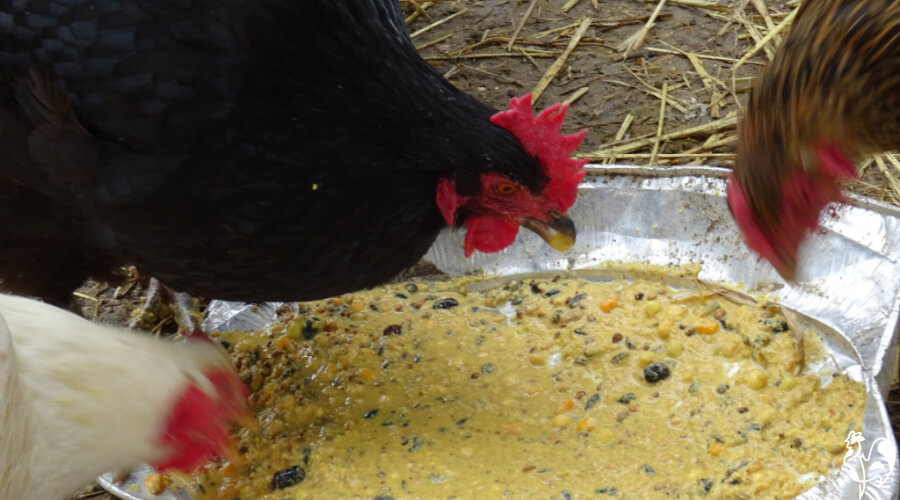 Three of my hens enjoying their fermented treat.
If you found this page helpful, you'll like these too!
Sources.
A lot of "facts" you'll find on the internet are people's individual views, based on inaccurate information repeated from poor quality sources.
The information I provide in this article and others is based not just on my own experience, but on evidenced facts from scientific, peer-reviewed research and highly respected and experienced poultry keepers such as Gail Damerow.
Some of the sources I have used in this article are these.
1. Steenfeldt, S, et al: Effect of feeding silages or carrots as supplements to laying hens on production performance, nutrient digestibility, gut structure, gut microflora and feather pecking behaviour. Pub. Journal of British Poultry Sciences, 2007.
2. Engberg et al: Fermented feed for laying hens: effects on egg production, egg quality, plumage condition and composition and activity of the intestinal microflora. Pub U.S. National Library of Medicine, March 2009.
3. 2. Beal, Niba et al: 'Potential of bacterial fermentation as a biosafe method of improving feeds for pigs and poultry'. Pub. African Journal of Biotechnology, May 2009.
